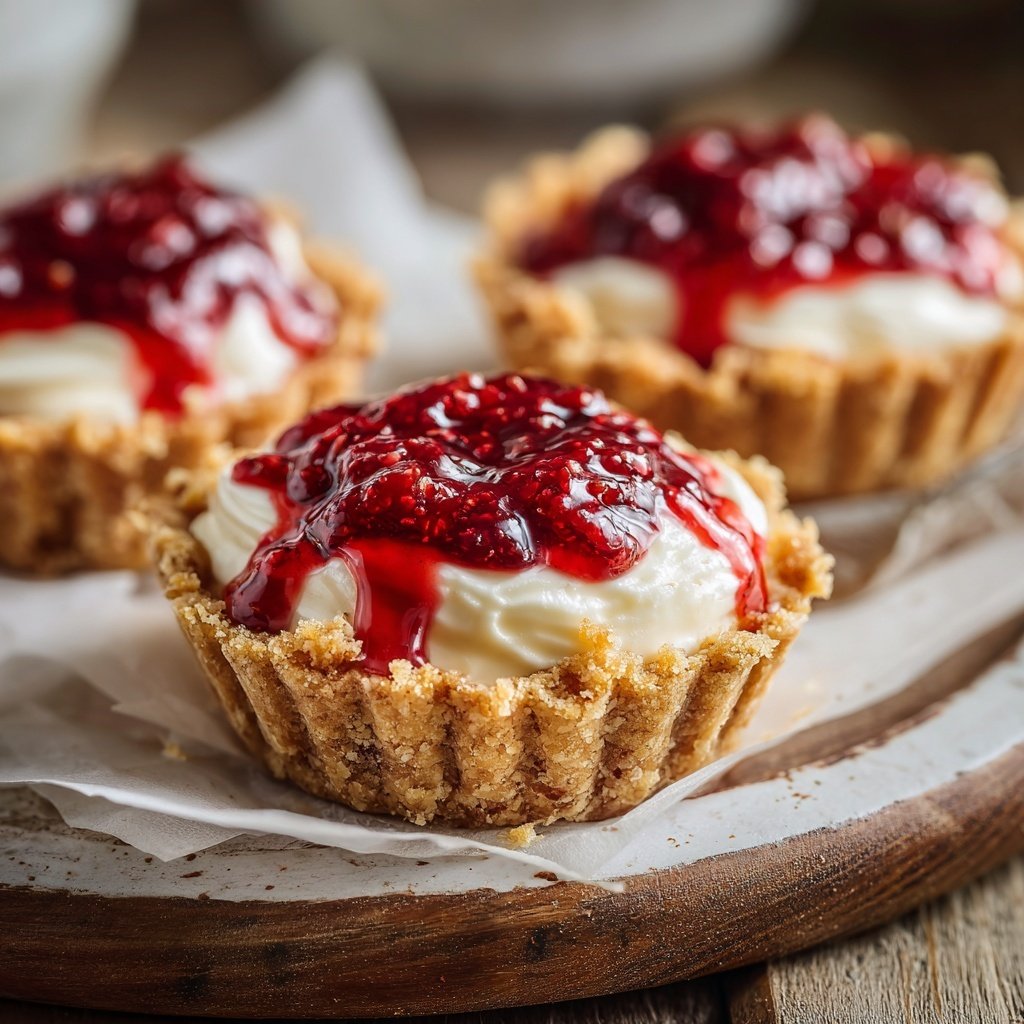
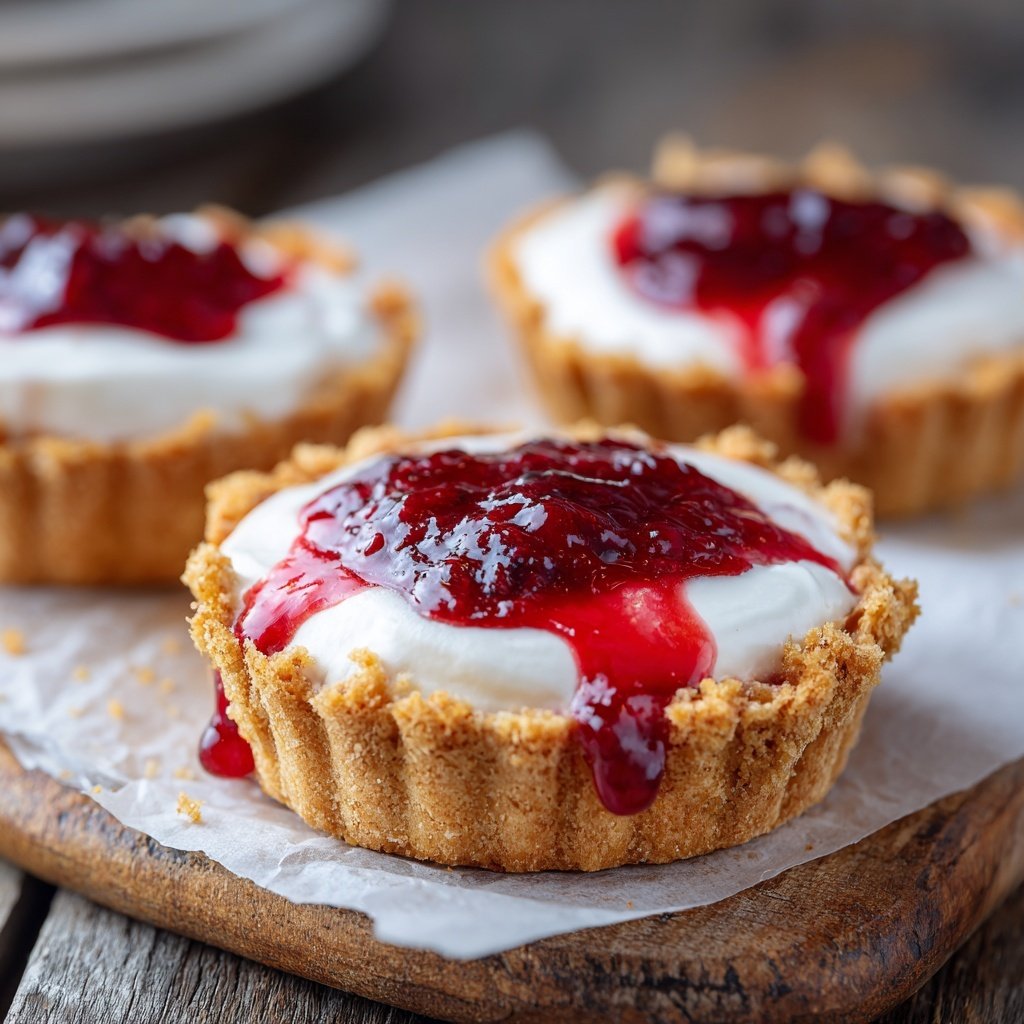
Mini Valentine Tartlets
Highlighted under: Simple Baking Collection
I absolutely adore making Mini Valentine Tartlets for special occasions. Each bite-sized tartlet is not only a treat for the eyes but also a delicious indulgence that brings a smile to everyone’s face. The buttery crust perfectly complements the rich fillings, and I love how easily they can be customized. Whether it's for a romantic dinner or a gathering with friends, these tartlets are always a hit. Plus, they are surprisingly simple to make, allowing me to enjoy the process without feeling overwhelmed.
Making Mini Valentine Tartlets has become a cherished tradition in my home, especially during the month of February. I remember the first time I made them; I was pleasantly surprised by how easy they were to assemble. The filling options are endless, and I love incorporating seasonal fruits to keep them fresh and vibrant. Just a touch of chocolate drizzle adds a luxurious finish that elevates these little treats.
One piece of advice I can offer is to chill the dough before rolling it out. This not only makes it easier to handle but ensures a flaky, tender crust. Experimenting with flavors has also been a joy; I’ve even made a matcha version that’s a delightful twist. Each time I serve these, I’m reminded of how simple ingredients can come together to create something truly beautiful.
Why You Will Love These Mini Tartlets
- Adorable and bite-sized, perfect for sharing
- Deliciously customizable with your favorite fillings
- A beautiful and impressive dessert that’s easy to make
Crust Techniques
Achieving the perfect tartlet crust requires attention to detail, especially when incorporating cold butter. Using a pastry cutter or two forks, cut the butter into the flour until your mixture resembles pebble-sized crumbs. This creates a tender, flaky texture. Remember, overmixing can lead to a tough crust, so don’t rush this step.
After chilling your dough, rolling it out should be done on a lightly floured surface to prevent sticking. Utilize a rolling pin for an even thickness, about 1/8 inch. When pressing the rounds into the pan, ensure you push the dough into the edges and corners for a nice shape and structural integrity.
Filling Variations
While this recipe features raspberries, feel free to substitute with other fruits such as strawberries, blueberries, or even diced peaches depending on the season. Keep in mind that different fruits have varying levels of sweetness and acidity. Adjust the sugar amount in the filling to cater to your fruit of choice; for tart fruits, adding an extra tablespoon of sugar may balance the flavors.
For a more indulgent filling, consider adding a touch of whipped cream or mascarpone cheese to the cream cheese base. This will provide a lighter texture while still maintaining the rich, creamy quality. Just be careful not to overmix after adding other ingredients so the filling remains airy.
Serving and Storage Tips
These Mini Valentine Tartlets are best enjoyed fresh, but they can be made a few hours in advance. If you plan to make them ahead of time, store the tartlets in an airtight container in the refrigerator. This helps maintain their texture and keeps the filling fresh. However, avoid adding the chocolate drizzle until just before serving to prevent it from hardening or becoming too firm.
For an elegant presentation, place the tartlets on a decorative platter and add fresh mint leaves, which not only enhance the visuals but also add a refreshing aroma. If you're looking to create a unique twist, consider dusting the tartlets with edible glitter or sugar for a festive touch.
Ingredients
Gather your ingredients before you start:
For the crust:
- 1 cup all-purpose flour
- 1/4 cup powdered sugar
- 1/2 cup unsalted butter, cold and cubed
- 1/4 teaspoon salt
- 1 egg yolk
- 2 tablespoons cold water
For the filling:
- 1 cup fresh raspberries (or your choice of fruit)
- 1/2 cup cream cheese, softened
- 1/4 cup granulated sugar
- 1 teaspoon vanilla extract
- 1 tablespoon lemon juice
For garnish:
- Chocolate drizzle
- Fresh mint leaves (optional)
Make sure to measure your ingredients accurately for the best results.
Instructions
Follow these steps to create your delicious tartlets:
Prepare the crust
In a mixing bowl, combine flour, powdered sugar, and salt. Cut in the cold butter until the mixture resembles coarse crumbs. Stir in the egg yolk and cold water until the dough comes together. Wrap it in plastic wrap and chill for 20 minutes.
Shape the tartlets
Preheat your oven to 350°F (175°C). Roll out the chilled dough on a lightly floured surface and cut into rounds. Press each round into a greased mini tartlet pan, making sure to come up the sides. Prick the bottom with a fork.
Bake the crust
Bake in the preheated oven for 15 minutes or until golden. Remove and let cool.
Make the filling
In a bowl, mix together the cream cheese, sugar, vanilla extract, and lemon juice until smooth. Fold in the raspberries gently.
Fill the tartlets
Spoon the filling into the cooled tart crusts, making sure to distribute it evenly. Chill for at least 10 minutes before serving.
Garnish and serve
Drizzle with melted chocolate and garnish with fresh mint leaves if desired. Enjoy your delightful Mini Valentine Tartlets!
Remember to keep your tartlets refrigerated until serving.
Pro Tips
- For a unique flavor, try incorporating spices like cinnamon into your crust or filling. Always use cold ingredients to get the flakiest crust possible.
Make-Ahead Strategies
If time is tight, you can prepare the tart crusts a day in advance. After baking and cooling, store them in an airtight container at room temperature. This preserves their crunch and flavor. When ready to fill, simply whip up the filling and assemble them before serving, keeping the process quick and hassle-free.
For batch preparation, consider freezing the unfilled tartlet shells. Lay them in a single layer on a baking sheet to freeze, then transfer them to a ziptop bag. They can be baked from frozen; just add a few extra minutes to the baking time for a perfectly golden crust.
Troubleshooting Tips
If your tart crust shrinks during baking, it’s often due to the dough being too warm. Ensure you chill your dough after shaping it, and don’t skip the chilling step before baking. Additionally, prick the bottoms before baking to prevent puffing, and cover them with parchment paper and pie weights if they do puff up.
Should your filling turn out too runny, it could be due to overmixing or excess juice from the fruit. To fix this, drain any excess liquid from the fruit before mixing it into the cream cheese. You can also add a teaspoon of cornstarch to the filling mixture which will help thicken it up.
Questions About Recipes
→ Can I use frozen fruit for the filling?
Yes, you can use frozen fruit! Just thaw them and drain the excess liquid before adding to the filling.
→ How long do these tartlets last?
They are best enjoyed fresh, but can be stored covered in the fridge for 2-3 days.
→ Can I make the crust ahead of time?
Absolutely! You can prepare the crust a day in advance and keep it wrapped in the fridge.
→ What other fillings can I use?
Feel free to get creative! Some great options include chocolate ganache, lemon curd, or pastry cream.
Mini Valentine Tartlets
Created by: Serena Whitaker
Recipe Type: Simple Baking Collection
Skill Level: Intermediate
Final Quantity: 12 tartlets
What You'll Need
For the crust:
- 1 cup all-purpose flour
- 1/4 cup powdered sugar
- 1/2 cup unsalted butter, cold and cubed
- 1/4 teaspoon salt
- 1 egg yolk
- 2 tablespoons cold water
For the filling:
- 1 cup fresh raspberries (or your choice of fruit)
- 1/2 cup cream cheese, softened
- 1/4 cup granulated sugar
- 1 teaspoon vanilla extract
- 1 tablespoon lemon juice
For garnish:
- Chocolate drizzle
- Fresh mint leaves (optional)
How-To Steps
In a mixing bowl, combine flour, powdered sugar, and salt. Cut in the cold butter until the mixture resembles coarse crumbs. Stir in the egg yolk and cold water until the dough comes together. Wrap it in plastic wrap and chill for 20 minutes.
Preheat your oven to 350°F (175°C). Roll out the chilled dough on a lightly floured surface and cut into rounds. Press each round into a greased mini tartlet pan, making sure to come up the sides. Prick the bottom with a fork.
Bake in the preheated oven for 15 minutes or until golden. Remove and let cool.
In a bowl, mix together the cream cheese, sugar, vanilla extract, and lemon juice until smooth. Fold in the raspberries gently.
Spoon the filling into the cooled tart crusts, making sure to distribute it evenly. Chill for at least 10 minutes before serving.
Drizzle with melted chocolate and garnish with fresh mint leaves if desired. Enjoy your delightful Mini Valentine Tartlets!
Extra Tips
- For a unique flavor, try incorporating spices like cinnamon into your crust or filling. Always use cold ingredients to get the flakiest crust possible.
Nutritional Breakdown (Per Serving)
- Calories: 250 kcal
- Total Fat: 17g
- Saturated Fat: 10g
- Cholesterol: 40mg
- Sodium: 140mg
- Total Carbohydrates: 24g
- Dietary Fiber: 1g
- Sugars: 12g
- Protein: 2g